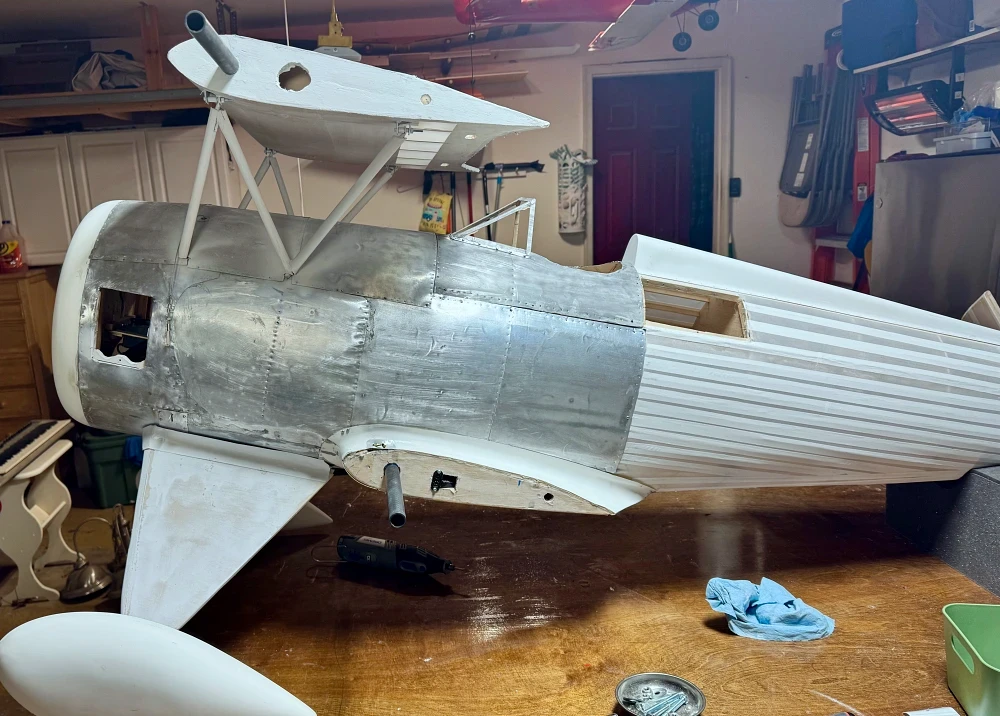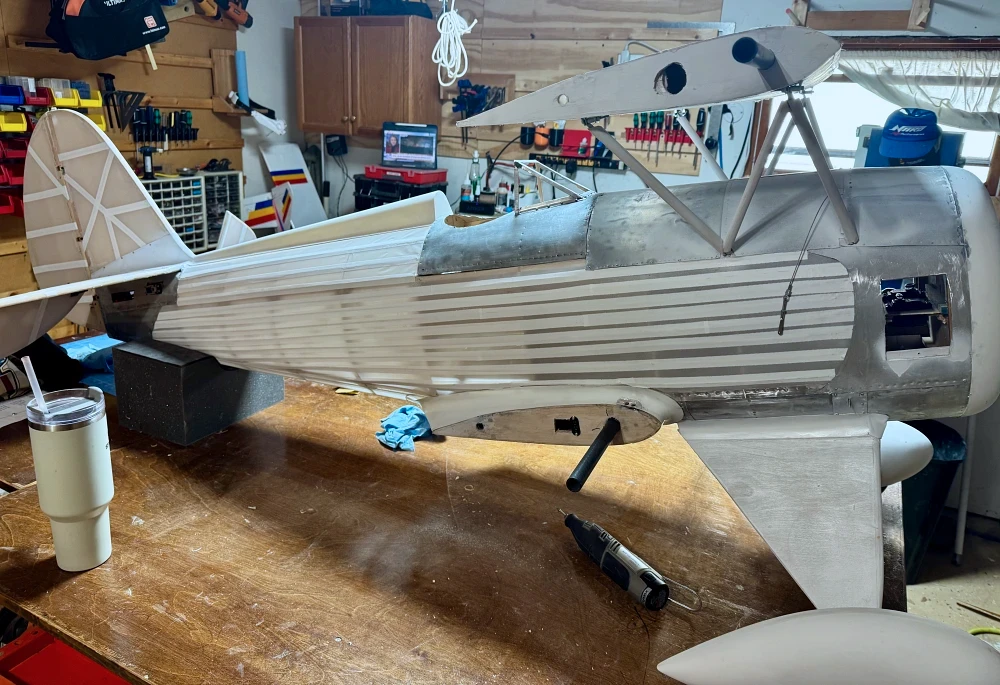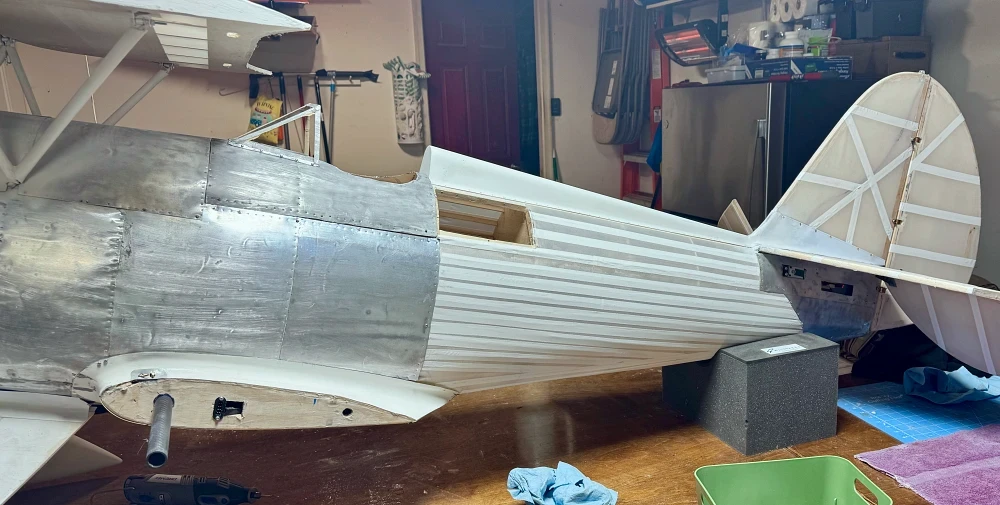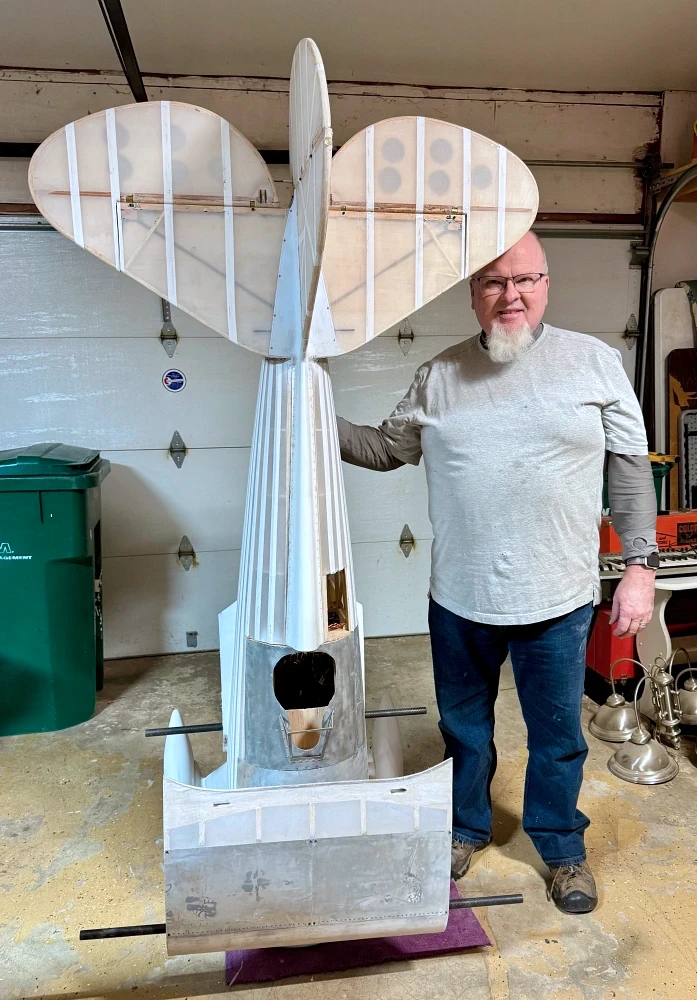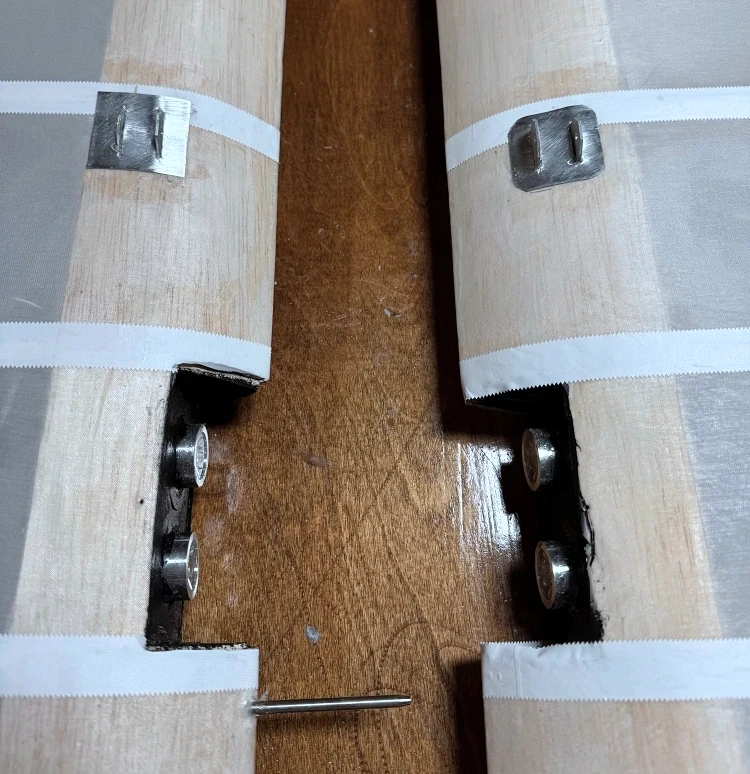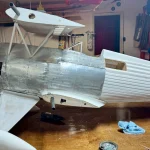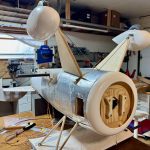
Yeah, yeah, yeah, it’ has been too long since I posted in the build series. Truth is the work has been continually progressing and focused on the finer bits of finishing the Waco. Did not feel there was anything really exciting to show you. “Look Ma, rivets! Real ones and simulated ones”.
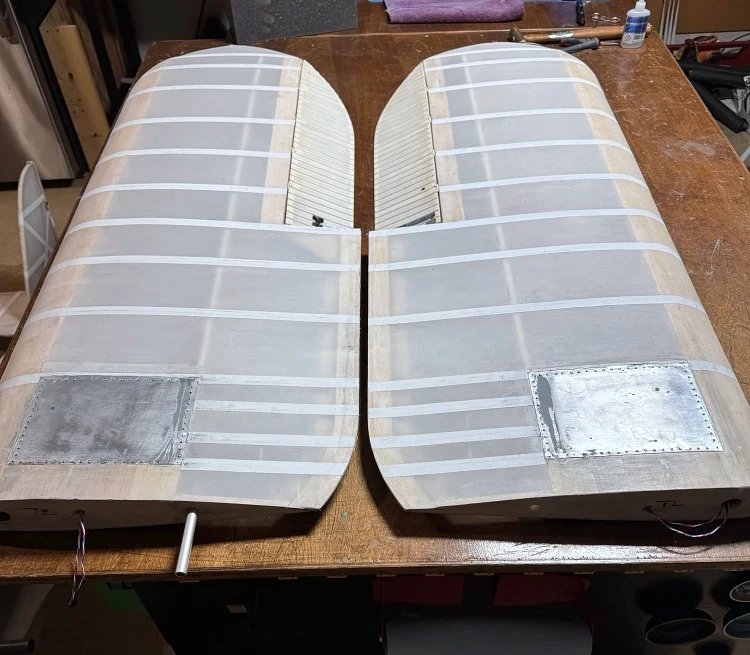
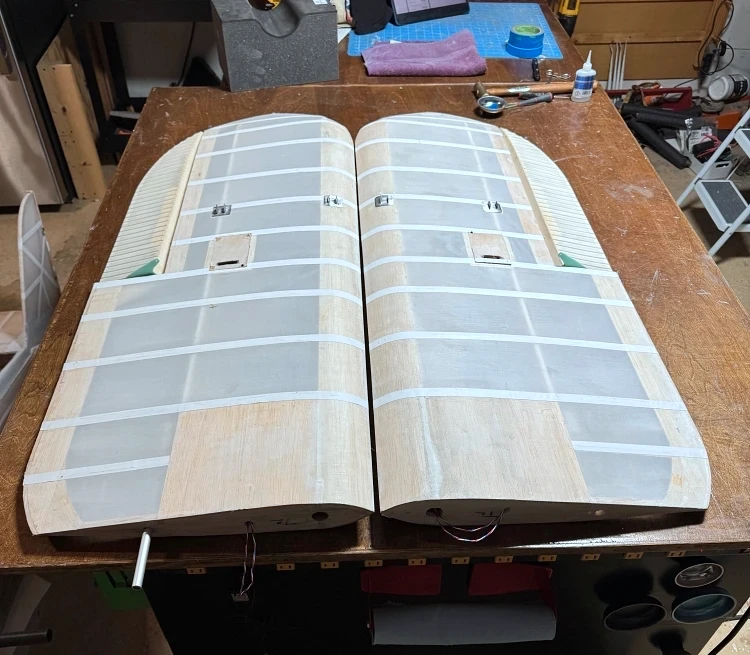
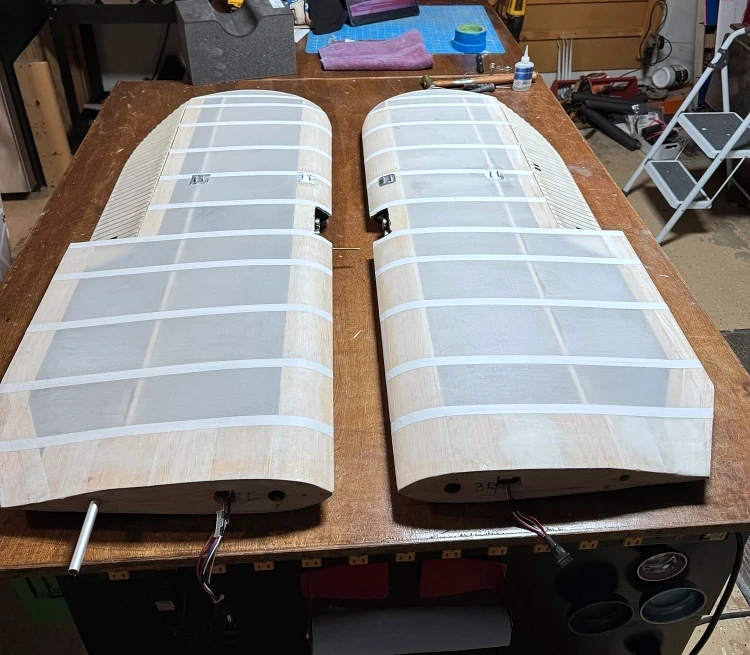
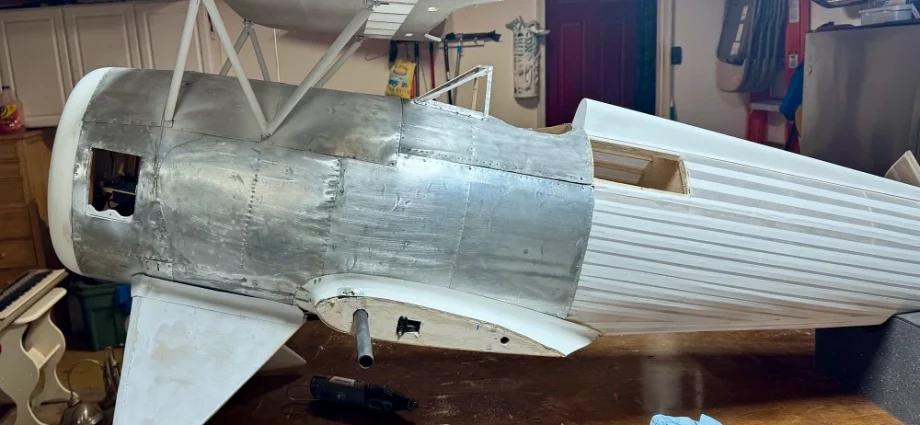
Speaking of rivets. Most are simulated. The flush rivets in the lithoplate was created using a light tap from a brass hammer and a small punch. Raised rivets are 6mm hobby nails. There are some phillips screws where solid lithoplate attachment was needed and some allen head machine screws just for the look. I placed approx 300 rivets. I consider this Waco as “stand-off scale”.
I also used pink it tape (all the white strips) to enhance the scale finish. This went on with a trim iron. I just went back over every square inch with my regular iron to ensure all the edges were firmly adhered.
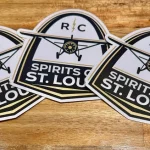
The Waco is ready for paint. I plan to shoot white dope as the base coat then followup with Sig Tennessee Red dope. The trim is Callie Graphics but the leading edges will be shot with black dope. I plan to build a paint booth with plastic drop clothes (to prevent overspraying my garage) and, thankfully, my insulated garage will warm to painting temperature. Lastly I plan to shoot clear dope to seal the graphics and put some sparkle on the finish.
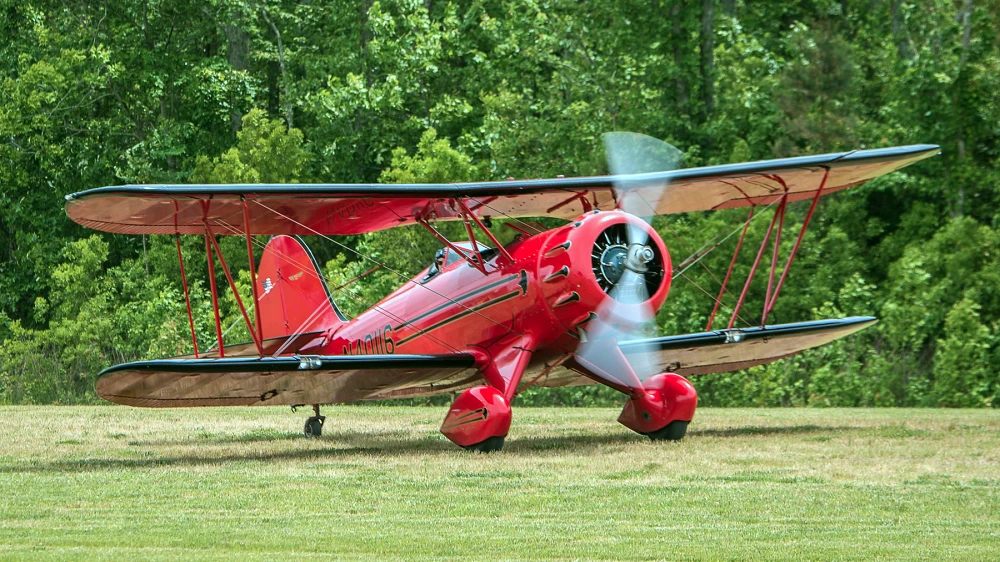
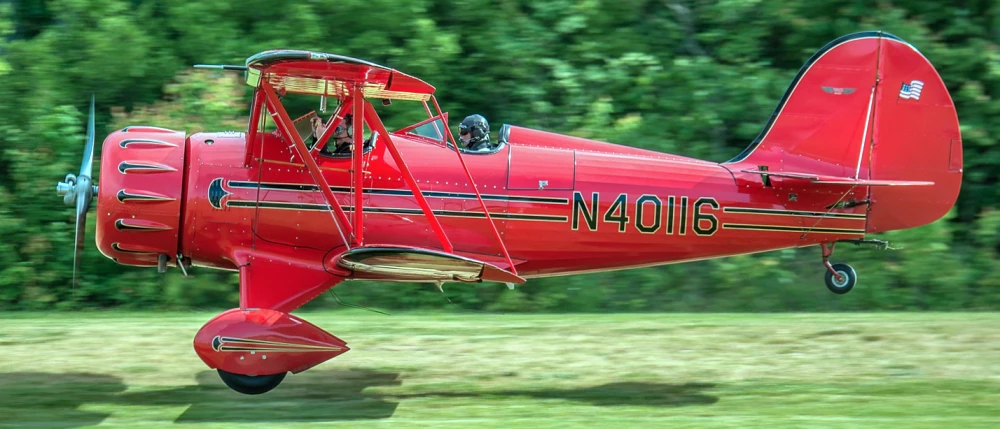
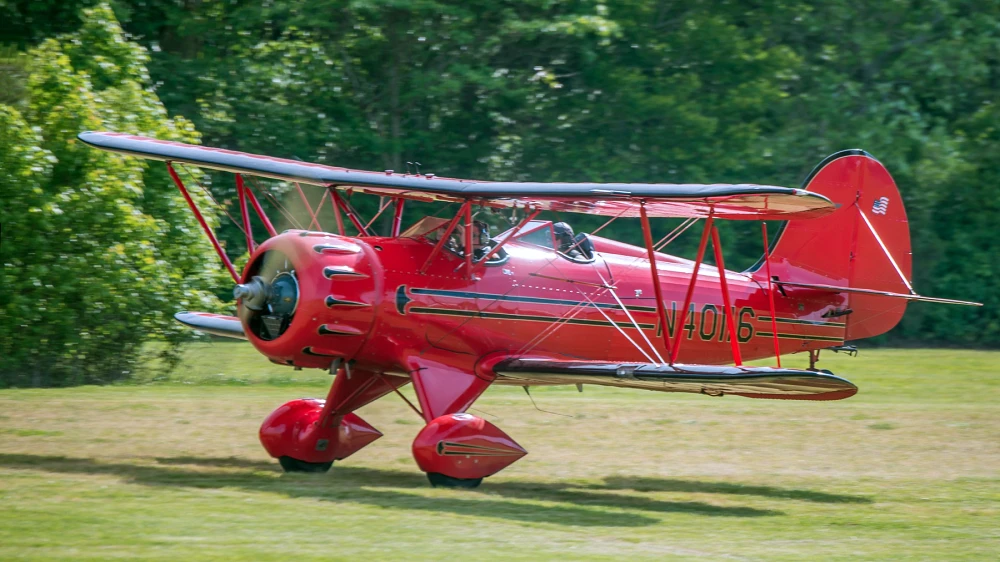
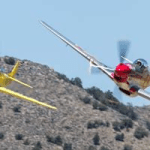
Included below are some Red Waco photos which I have used as my primary finish inspiration and many times as build verification. I had also visited Creve Coeur Airport’s Historic Aviation Museum and took prodigious reference photos.
After the Waco is painted I will take you through the internal workings in a later post.