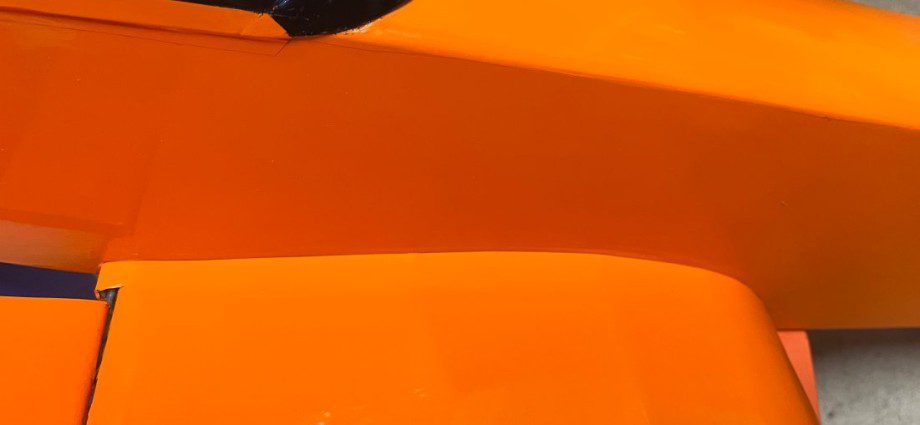
Are you looking for that awesome wing-to-fuselage joint?
Well it is easy to accomplish so get your supplies readyand then obtain micro balloons…
a cup to mix them in…and lastly, cling wrap or similar.
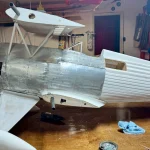
Start by installing the horizontal stabilizer squarely on the rear of fuselage. It can be temporary or permanent…that’s OK. But ensure it is square.
Next mask the surface of the wing, where it mates to the fuselage, with the cling wrap. Make it about 3 inches wider than the fuselage and be sure wrap around the leading and trailing edge.
Then, mix up ½ ounce (more if the wing is root is large) of finishing resin and keep mixing in micro balloons until it is like stiff icing for a cake.
Put the micro-balloon/resin mix on the fuselage saddles, including the leading and trailing areas of the fuselage about 1/4 to 3/8 inch high.
Attach the wing to the fuselage and weight it down, bolt/screw it down, or rubber band the wing on and it will squeeze out the micro-balloon resin mix. Using a popsicle stick, possibly a finger, and remove excess on the outside of joint. Confirm alignment with stabilizer! Let it cure.
When cured remove the wing, discard plastic film and sand the inside and outside edges of the fuselage…really easy to sand!
Now you have a perfect fitting wing-to-fuselage joint.
Cheers, Paul